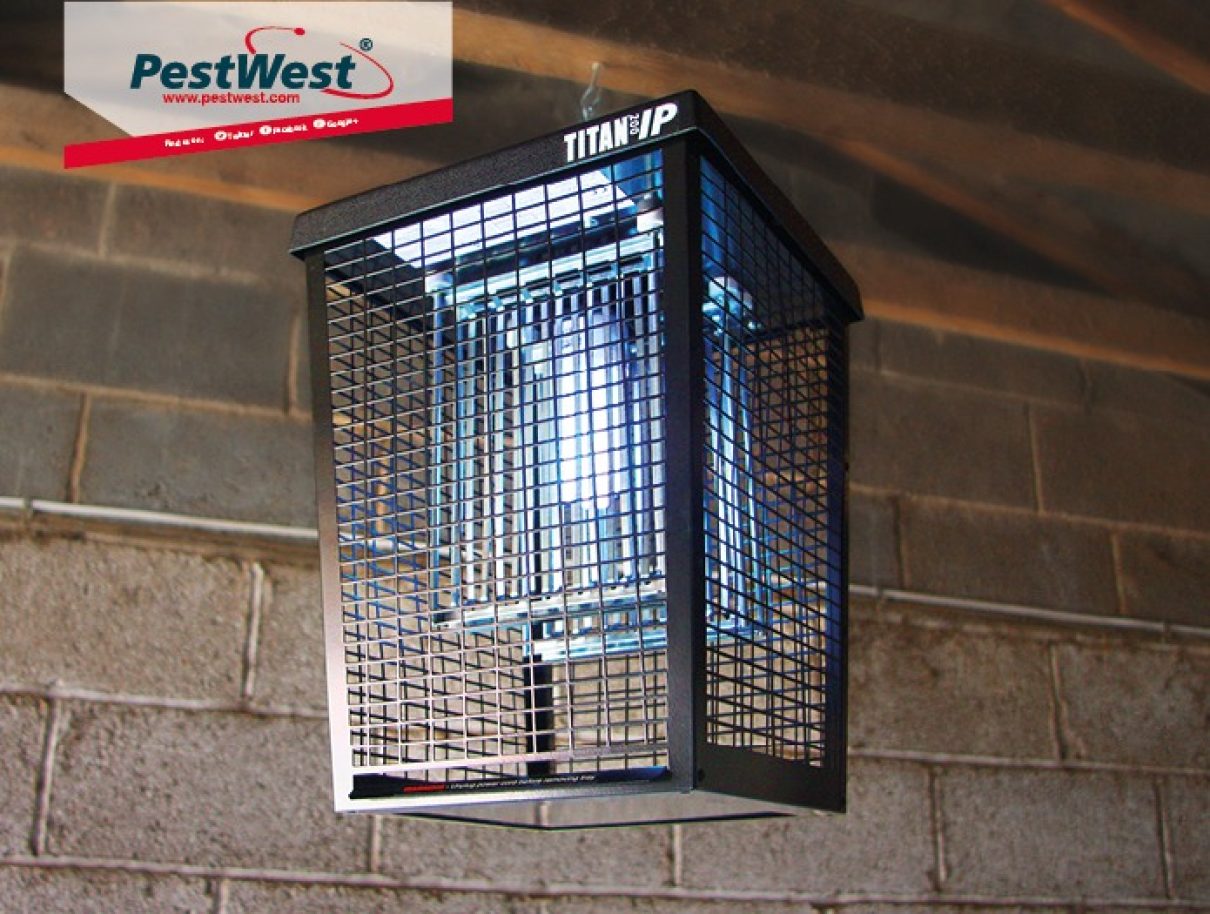
A perfect killer will stand in the rain for hours to do the assigned job and is strong enough to eliminate multiple targets within 160m². A perfect killer wears black and doesn’t stand out from a common street lamp. Its name? Titan 200 IP. We prepared a short video for you to help you through the process of installation and servicing. Soon you will see, that shortly after opening the transportation box, the Titan 200 IP can be left alone to do what it does best – killing flies… whatever the weather!
INSTALLATION AND SERVICING OF THE TITAN 200 IP
Always unplug the electrical fly killer before commencing any maintenance.
INSTALLING THE EYEBOLT
- Unscrew the cover retaining screw.
- Remove the screw completely.
- Attach the nut and washers to the supplied eyebolt.
- Add the black sealing washer last.
- Screw the eyebolt into the top of the cover.
- Tighten the nut firmly to the desired eyebolt height.
REMOVING THE TRAY
- Unscrew the tray retaining screw located at the back of the unit.
- Push the tray up and slide it out.
REMOVING THE BULB
- Turn the bulb anti-clockwise and slide it gently out from the chassis
FITTING THE BULB
- Slide the bulb gently into the unit
- Screw the bulb in clockwise to secure
UNIT LOCATION AND INSTALLATION
- Install the unit approximately 2.5 m above the floor level
- The Titan 200 IP is supplied without a plug fitted. The unit must be wired into an IP rated external electrical box or if a plug is fitted, the unit must be plugged into an IP rated external wall socket.
- Always use a qualified electrician to install the unit correctly
Please click here for more Titan 200 IP product information.


